Users, Roles and Branches
Add your staff, decide what each person can do and where, set PINs for the POS app, and manage your branches.
Everything on this page is done in the Web admin, in a browser. Branches, Users and Roles are in the menu bar. My PIN is in the menu that opens when you click your name at the top right.
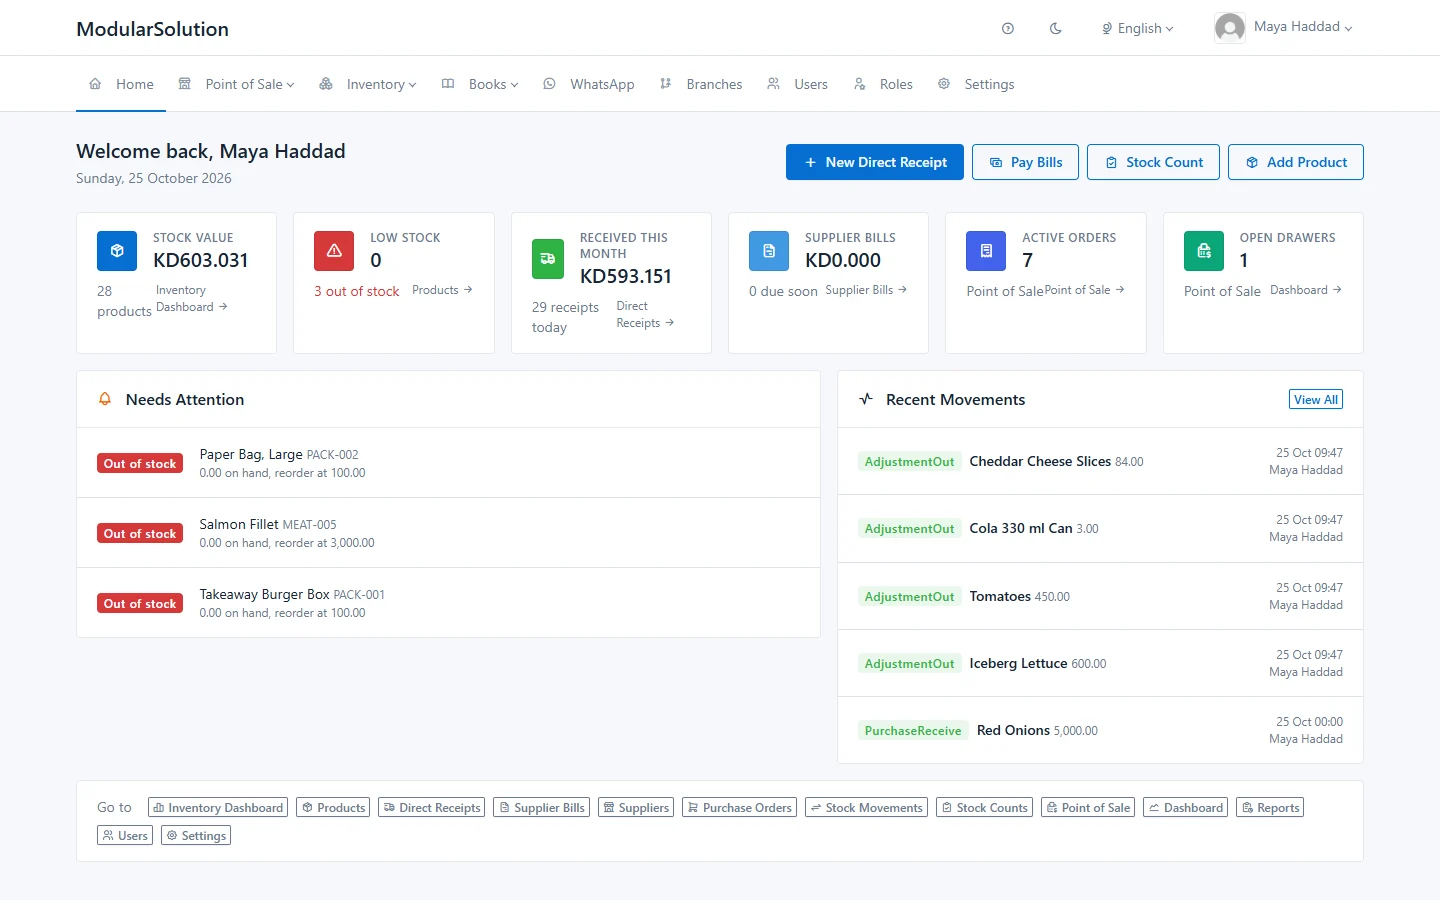
You only see a menu entry if your role allows it:
| Screen | Who can open it with the built-in roles |
|---|---|
| Users | Administrator, Branch Manager |
| Roles | Administrator |
| Branches | Administrator, Operations Manager |
| My PIN | Everyone who can sign in |
Add a User
Each person who signs in to the Web admin or the POS app needs their own user.
-
Open UsersClick Users in the menu, then click Add User.
-
Fill in the profileEnter First Name, Last Name, Username and Email. The username must be 3 to 50 characters and may contain only letters, numbers, dots, hyphens and underscores. It cannot be changed after the user is created.
-
Choose the roleUnder Access, select a Role. Hold Ctrl to select more than one. A user must have at least one role.
-
Choose the branchSelect the Branch the person works at. Hold Ctrl to select more than one. If you have only one branch, it is already filled in.
-
Set the passwordUnder Password, turn off Generate random password if it is shown, then type a Password and repeat it in Confirm Password. The password needs at least 6 characters, with an uppercase letter, a lowercase letter, a number and a special character.
-
Set the account optionsIf Account options is shown, leave Must change password on to make the person choose their own password the first time they sign in.
-
Add a pay rate (optional)Under Pay rate, choose a Pay Type (Hourly or Monthly Salary) and enter the amount. This is used for labour cost in reports.
-
Click "Create user"The user appears in the list with the status Active. Give the person their username and password.
If you leave Generate random password on, the new password is not displayed. To get a password you can hand over, use Reset password on the user afterwards. It shows a temporary password once.
People sign in to the Web admin with their email. On a POS terminal that has been linked to a branch, they sign in with their username and either their password or their PIN.
Change a User's Role or Branch
-
Open the userClick Users, find the person (you can search by name or filter by role and status), and click the Edit (pencil) icon.
-
Change the role or branchUnder Access, change the selection in Role or Branch. Hold Ctrl while you click so you do not lose the other selections.
-
Click "Save changes"The list shows the person's main role in the Job Role column.
Different roles at different branches
The user form gives the person the same branches for every role they hold. If someone is, for example, a manager at one branch and a cashier at another, use Branch access.
-
Open Branch accessIn the Users list, click the Branch access icon on the person's row.
-
Tick the branches for each roleUnder Where they work each role, each row is a role and each column is a branch. Tick a box to say the person holds that role at that branch. Roles that apply to the whole business are listed below the grid and have nothing to tick.
-
Choose the home branchUnder Home branch, choose the branch their point of sale opens to.
-
Click "Save branch access"What the person may do follows the role they hold at the branch they are working in.
Reset a User's Password
-
Click the "Reset password" iconIn the Users list, click the Reset password (key) icon on the person's row.
-
Choose how to set the passwordLeave Generate a temporary password on, or turn it off and type a New password and Confirm password. Leave Require the user to change it on if the person should pick their own password at the next sign-in.
-
Click "Reset password"A generated password is shown at the top of the page under Temporary password for and the person's name. Click Copy and pass it on straight away. It is shown only once.
Deactivate a User
Deactivate someone who has left or should not sign in for now. The account stays on record but cannot sign in.
-
Open the userClick Users and click the Edit (pencil) icon on the person's row.
-
Turn off "User account active"The switch is under Status at the bottom of the form.
-
Click "Save changes"The person shows as Inactive in the list and can no longer sign in to the Web admin or the POS app. They see "Account is inactive."
To let the person back in, edit the user and turn User account active on again.
The Delete (bin) icon in the Users list removes the user after you confirm, and cannot be undone. Deactivate instead if the person might come back.
Built-in Roles
A role is a job. It decides what a person can see and do. Your account comes with ready-made roles, and you pick from them when you add a user. Which roles you see depends on the modules your account includes.
General
| Role | What it allows |
|---|---|
| Administrator | Everything your account includes, in every branch: users, roles, branches, settings and all modules. |
| Basic Staff | Clock in and out and manage their own profile. Nothing else. |
| Report Viewer | Read reports across your modules. Cannot change anything. |
Point of Sale
| Role | What it allows |
|---|---|
| Branch Manager | Runs a branch. Takes orders and payment, voids, discounts and refunds, approves other staff's actions with their PIN, opens and closes the business day, manages shifts and staff accounts, counts the cash drawer, sets up tables and kitchen stations, and sees sales reports. |
| Assistant Manager | Stands in for the branch manager: orders, payment, voids, discounts, refunds, approvals with their PIN, shift control and sales reports. Cannot manage staff accounts or open and close the business day. |
| Shift Lead | Takes orders and payment, serves tables, can void, discount and refund, closes a shift and counts the cash drawer. Cannot approve other staff's actions. |
| Cashier | Takes payment and operates the cash drawer. |
| Counter Staff | Takes the order and the payment. Typical for counter service. |
| Waiter/Server | Takes orders and serves tables. Cannot take payment. |
| Host/Hostess | Seats guests and manages reservations. Cannot take orders or payment. |
| Kitchen Staff | Works the kitchen display only. |
| Call Center | Takes phone orders and handles online orders. |
| Caller | Their own profile only. The role exists so the job can be scheduled and reported on. |
| Operations Manager | Head-office setup for the whole business: menu, prices, recipes, tables, branches, printers, payment methods, kitchen stations, customers and POS settings, plus sales reports. Does not take orders or payment. |
Delivery
| Role | What it allows |
|---|---|
| Delivery Dispatcher | Assigns riders and tracks deliveries from the branch. |
| Delivery Rider | Sees their own deliveries and updates their status. |
| Delivery Manager | Sets up delivery zones, delivery pricing and the rider list, and can dispatch deliveries. |
Inventory
| Role | What it allows |
|---|---|
| Inventory Manager | Runs inventory end to end, including approvals. Cannot pay supplier bills. |
| Warehouse Operator | Receives, counts and transfers stock. Cannot approve their own work. |
| Inventory Clerk | Counts and adjusts stock at a branch. |
| Purchasing Officer | Raises purchase orders and manages suppliers, supplier bills and supplier returns. Cannot approve their own orders or pay the bills. |
| Inventory Viewer | Sees stock and inventory reports. Cannot change anything. |
CRM and Finance
| Role | What it allows |
|---|---|
| CRM Manager | Manages loyalty, rewards, campaigns, promotions, meal plans, feedback and customer messaging. |
| CRM Operator | Handles loyalty enquiries, redemptions, meal plan sales and feedback replies. Cannot manage campaigns or promotions. |
| Accountant | Financial reports and paying supplier bills. Cannot raise purchase orders or record the bills they pay. |
In the POS app, a manager approval is accepted only from someone whose role allows approving exceptions. With the built-in roles, that is Administrator, Branch Manager and Assistant Manager.
Create a Custom Role
Built-in roles cannot be changed or deleted. If none of them fits, make your own. You build a role by ticking the tasks people in that role carry out, such as Take Orders, Handle Payments or Correct Sales. Each task has a short description under its name.
Copy a built-in role and adjust it
This is the quickest way when a built-in role is nearly right.
-
Open the roleClick Roles in the menu. On the row of the role you want to start from, click the Manage duties (key) icon.
-
Make a copyAt the top of the page, type a name for the new role and click Make a copy. The copy opens with the same tasks ticked.
-
Tick and untick tasksUnder What this role can do, tick the tasks the role should have and untick the ones it should not. Tasks are grouped under Everyone and under each module.
-
Click "Save duties"The new role is now in the Role list when you add or edit a user.
Start from an empty role
-
Click "Add Role"Click Roles in the menu, then Add Role.
-
Name the roleEnter a Role Name and, if you like, a Description. Leave Active on.
-
Tick the tasksUnder What this role can do, tick the tasks people in this role carry out.
-
Click "Create Role"To save the name now and choose the tasks later, click Create & Configure Later instead, then use the Manage duties icon in the role list.
To change a custom role later, click its Manage duties icon in the Roles list, change the ticks and click Save duties. If a change does not reach someone who is already signed in, click Clear Permission Cache on the Roles page.
You can delete a custom role only when no user holds it. Give those users another role first.
Staff PINs
A PIN is a personal code of 4 to 6 digits. Each person sets their own PIN in the Web admin. There is no screen for setting someone else's PIN, and a PIN cannot be set from the POS app.
What the PIN is used for in the POS app
- Signing in. On a terminal that is linked to a branch, choose PIN on the sign-in screen and enter your username and PIN instead of a password.
- Clocking in and out. Staff with a PIN enter it to clock in or out. Staff without a PIN are asked for their password.
- Manager approval. A manager selects their name and enters their PIN to approve something a staff member cannot do alone: voiding an order, cancelling an item, a refund, closing with a cash difference above the allowed limit, linking a terminal to a branch or moving it to another branch.
Set your PIN
-
Open My PINIn the Web admin, click your name at the top right and choose My PIN.
-
Click "Set Your PIN"The button is on the PIN Status card, which shows No PIN Set until you have one.
-
Confirm who you areEnter your Account Password. This is the password you sign in with.
-
Enter the PIN twiceType 4 to 6 digits in New PIN and again in Confirm PIN.
-
Click "Set PIN"The page shows "Your PIN has been set successfully."
Change or reset your PIN
| Button on My PIN | Use it when | What you enter |
|---|---|---|
| Change PIN | You know your current PIN and want a new one. | Current PIN, New PIN, Confirm PIN |
| Forgot PIN | You forgot your PIN, or it is locked. | Account Password, New PIN, Confirm PIN |
After three wrong entries in a row the PIN is locked for 15 minutes. My PIN then shows Locked and the time it unlocks. To use it sooner, click Forgot PIN and set a new one. While a PIN is locked you can still sign in to the POS app with your password.
Branches
A branch is one location of your business. Orders, cash drawers, business days and POS terminals all belong to a branch.
Add a branch
-
Click "Add New Branch"Click Branches in the menu, then Add New Branch.
-
Enter the basicsEnter a Name and a Branch Code (up to 20 characters), and choose a Branch Type. Name and code must not already be used by another branch. The code cannot be changed after the branch is created.
-
Add location and contact detailsFill in Location Details and Contact Information as needed. Delivery Contact Number is a separate number for delivery enquiries.
-
Set the operating hoursUnder Operating Hours, switch Open on or off for each day and set the Opening Time and Closing Time.
-
Choose the settingsUnder Settings, tick the options that apply. They are listed in the table below.
-
Click "Create"The branch appears in the list.
| Setting | What it does |
|---|---|
| Active | Only active branches can be chosen when you add a user or set up a POS terminal. |
| Set as Default Branch | Marks this branch as your default. It is shown with a Default badge in the list. |
| Tracks Inventory | Turns on stock management for this branch. |
| Enable Kitchen Display | Shows orders on the kitchen display after they are sent to the kitchen. |
| Auto-Accept Online Orders | Accepts online orders and sends them to the kitchen as they arrive. When it is off, staff accept each online order by hand. |
Nobody is assigned to a new branch automatically. Edit each user who works there and select the branch under Branch. Before you can link a POS terminal to the branch, an Administrator who has a PIN must be assigned to it. See Install the POS App.
Edit a branch
In the Branches list, click the Edit (pencil) icon, make your changes and click Save Changes. To make another branch the default, click its Set as Default (star) icon in the list.
Delete a branch
Click the Delete (bin) icon on the branch row and confirm with Delete Branch. This cannot be undone. To close a location without deleting it, edit the branch and untick Active instead.
- You cannot delete the default branch. Set another branch as default first.
- You cannot delete a branch that has warehouses. Delete or reassign the warehouses first.
Troubleshooting
"This is the only administrator account."
You tried to take the Administrator role away from the last person who has it. Give another active user the Administrator role first, then change this one.
"Please select a role"
Every user needs at least one role. Select one under Access before you save.
"Cannot delete role ... because it has ... user(s) assigned"
Someone still holds the role. Edit those users, give them another role, then delete the role.
The Delete button on a role is greyed out
Built-in roles cannot be deleted.
"Invalid password" when setting or resetting a PIN
The Account Password you typed is not the password you sign in with. Type your sign-in password, not your old PIN.
"You already have a PIN. Use 'Change PIN' instead."
Go back to My PIN and click Change PIN, or Forgot PIN if you do not remember it.
"Cannot delete the default branch. Set another branch as default first."
In the Branches list, click the Set as Default (star) icon on another branch, then delete this one.